Wednesday, December 5, 2012

Merry Christmas


I LOVE Christmas!  This year for Christmas I will be doing little sewing, a little knitting, a little baking and everyone on my list will get a little something homemade.  So I am taking a short break from Brittney's Wedding Dress. 

As soon as I get through the holiday Brittney's dress will be the only project that I will be working on.  So have a wonderful Christmas and I'll see you in a couple weeks.


Friday, November 9, 2012

Muslin Sucks & Other Technicalities

Brittney and Jon's engagement photos came this week! It was a beautiful day. The photos were taken in the hayfield where the wedding will be held, and down at the dam on the Hardware River. I can't wait for everyone to see them!  They look so 'in love.'

Engagement and wedding photography had quite a change from when I was young and in love. My photographer cut out the heads of the guests from a reception photo and made me a collage and glued them to a piece of wallpaper! It makes me laugh just to write those words.  Cameron and I and our parents stood side by side and had our photos taken in the church.  Historically they are fun to have but none of them are nice enough that I would want to frame them.  I would frame any of Jon and Brittney's engagement photos!

Since I don't know who is reading this blog for news on the wedding or who is interested in watching Brittney's dress being created, I will try to write a little bit about both in each entry.  If you are a sewer you might enjoy this next passage, if you're not...then not so much.  Anyway take what is useful or interesting and don't worry about the rest.

Now for some technicalities....I decided today that muslin sucks! So today I finished up creating a bodice from the thrifted wedding gown that I bought at the Goodwill. This weight is a much closer weight to the silk that I will be using. I used the muslin I had left over for the lining. I'm pretty tickled with the results.
I had never done any boning so this is something that I had to learn.  I did some research and discovered that they used to use actual whale bones in corsets and gowns...how neat!  Wherever the fabric might droops you put in a plastic bone.  It’s a little bit like tent pole.  Droopy tent add a pole. 
To start with I put boning in the princess seam from neckline to waist.  I also plan on putting it on the sides and in the back and maybe in the center front.  Here I’ve pushed out the plastic bone so you can see the two pieces. 
 
I measured and cut the lengths that I wanted and then pulled the
bones out completely.  I sewed the channel onto the princess seam. 


When I slipped the bone back in the bodice magically become three
dimensional.  This is a photo of the bust and the arm opening. 


I did the same thing on the other side.  This is the inside of the
bodice and when it is finished this will all be hidden.  You can
get a pretty good idea how the boning fits over the bustline. 

 
LESSON:  As always I learned that you can teach an old dog (me)
new tricks, putting bones in is a piece of cake and actually kind of fun. 


Thursday, October 25, 2012

HAPPY FALL

It is a beautiful day!  Zippy my cat and I went to scope out the leaf situation and I think that about half of the leaves have fallen off my trees.  I swept off the walk only to come back later in the afternoon and see all my hard work  covered up with leaves again.  That’s what happens when you live in the woods.  I opened the doors to let the warm air in and settled down to work on Brittney’s wedding dress.

It is a whole different ball game making a dress pattern on your own.  If I get stumped while I am sewing I just pull out in the instructions.  But with this dress, since I designed the pattern it’s up to me to figure out how to put it together and write the instructions myself.
Right now I am working on the neckline (still muslin) and I have finished it to see what it will look like when I make it up out of silk.  At $80 per yard I don’t want to cut anything out until I know it is going to go together properly.  (Sorry about the crazy color this fabric is white).
 
I sewed the dress to the lining from center back to center back and turned it inside out.  I gave it a good pressing and then sewed really close to the edge on the inside. 
The lace comes around from the center back, around the neckline and then back behind the neck.  If you look close you can see a little seam where the sleeve and the front attach.  Right now it is about 1 1/4 inches wide.  When I finish off the arm opening I will need to take an additional ½” on the left up to the pin.  That leaves the seam only ¾” wide.
 
The lace is nearly 3” wide so when it comes across that seam there isn’t a whole lot of dress to sew it on to.  Plus that leaves some of the vine on the lace hanging off  the shoulder. I’m not really worried... just thinking out loud.

 
I think that I will add ½” around the arm opening, that way I will have 1 1/4" of material to attach the lace to.  The lace is attached to netting so I am going to cut very carefully in between the vines to see if  I can coax the lace to make a beautiful turn. 
I know that this is a bit technical but I thought it was worth noting especially if you are following along and you too want to make a wedding dress.
This week I learned:

1.   As much as I am tired of using muslin...it is valuable to make sure my pattern is accurate before cutting the real deal.
2.   It is pointless to rake leaves until they have all fallen.


Tuesday, October 16, 2012

A Picture is Worth A Thousand Words


On Sunday Brittney and I draped the lace on the dress form, tied the coral sash, pinned on the waist applique and took a step back!  WOW  It really doesn’t take a lot of imagination to see how beautiful this wedding dress is going to be.

 
We did a quick fitting.  I have a few minor adjustments to make on the pattern and then I can sew in the lining and figure out where to put in the boning.  It will still be a muslin but it will start looking more like a finished bodice with no unfinished edges, chalk lines or pins.

I think about Brittney’s wedding dress all the time, it is how I am wired.  I have sewn it over and over in my head.  The other night I had a dream about it.  I know you are saying ‘who dreams about sewing’….I do!  The neat part of the dream was that it revealed the solution to a problem that I had been struggling with….puckers!
The next day I pulled a wedding train out of the closet that I had bought at the Goodwill and cut the pieces out using the heavy weight satin.  I lined up the curved pieces and seamed them up…no puckers. 

LESSON:  I learned is when in doubt I should always use a fabric closer to what I will be sewing if for no other reason than to just feel good about what I am doing. 

AND it is also okay to make up my own rules, regardless of the design text books tell you to do. 
Who says you can’t teach an old dog new tricks?


WOOF WOOF
 

Tuesday, October 2, 2012

Embelished Lace & Pure Silk


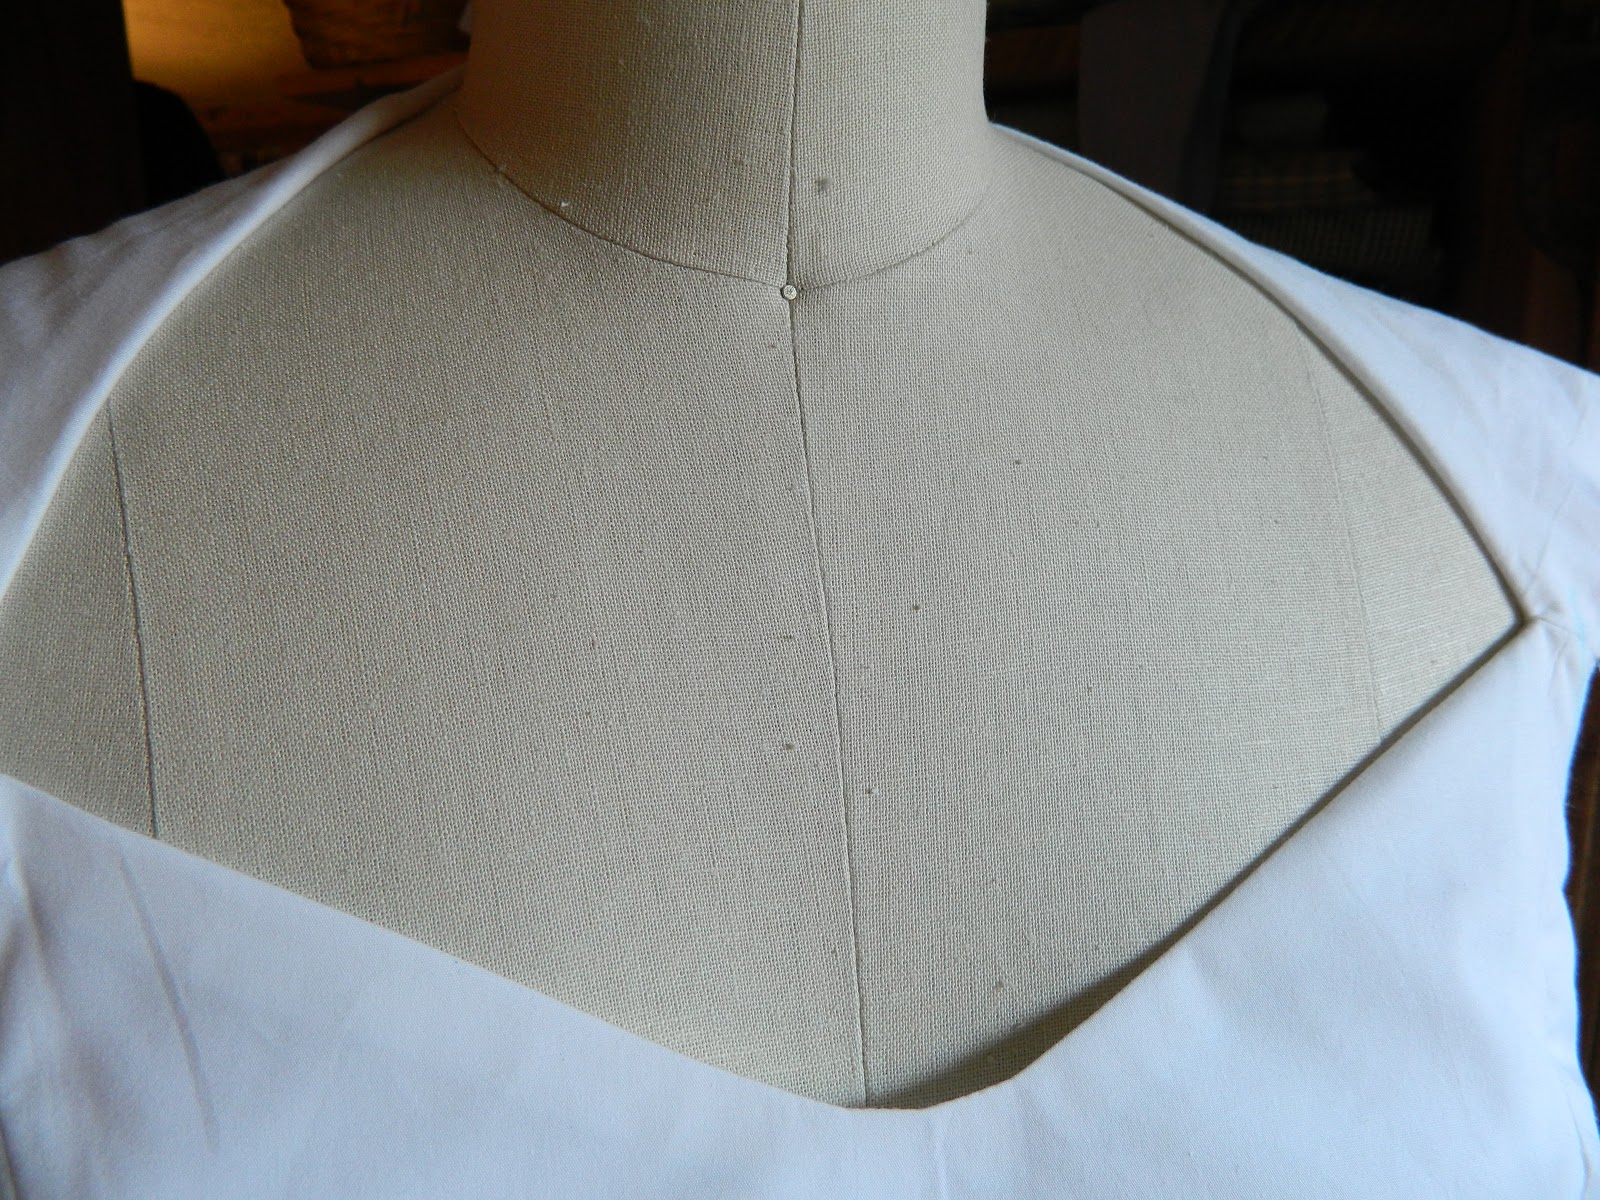
A couple of weeks ago we purchased the fabric for Brittney’s wedding dress. The outer dress is embellished lace.   Here's what it looks like.  This photo is a little dark but you can see the scalloped edge, the beautiful diamond shaped pattern, and just a little sparkle.


We decided to make the under dress with a silk and rayon blend. This fabric had a beautiful sheen and because there is no polyester fiber I will be able to press it with an iron.  We measured it out…sadly there was not enough fabric on the bolt.  However a quick call to the manufacturer and they located a piece in the same color and they would send out a swatch that would arrive in a few days.

On Friday that same week I received a call that the swatch has arrived.  Since I was already in town I went to Les Fabriques to check it out.  It did not match the partial bolt that they already had in the store.  Who knew that there could be so many shades of white? I came home and dropped Brittney a line about the swatch so we decided to go in and look at together. 

We planned to meet up at Les Fabriques after Brittney got off of work.  I arrived a few minutes early and checked the colors again.  This time it looked like it had lightened even more!  How could this be?  We left it on the counter for Brittney to look at and then Esther one of the employees at Les Fabriques helped me search for alternatives.  We found three bolts, two of them were polyester (not my favorite) and one of them was 100% silk.  We laid them on the counter and spread the lace over them.  They were ALL stunning to look at each one was a little different shade of white.

When Brittney arrived we shared the remnants and we decided the match was too far off.  Esther showed her the three alternate bolts of fabric.  I kept quiet.  She went right to the SILK because it really showed off the pattern of the lace.  How awesome for me!

On the way home I went to Michael's and bought a large box covered with wallpaper to put the fabric in and have it stowed in my sewing room in a place of honor.
 
Lesson for the DAY:  Silk has a nap!  Like corduroy the fabric feels smoother going one way and actually the color looks different depending on which way the fabric is turned. It doesn’t matter which way the fabric is cut as long as the nap all goes the same direction.
 
PS I have a photo to share of the silk but it rotates every time I try to insert it.  Stay tuned.

Thursday, September 20, 2012

The Journey Begins


A couple of  weeks ago I went to Les Fabriques to meet with Kimberly.  We started with the bodice front and back and the sleeve.

There were a couple of ways we had considered making the bodice but we decided that a princess line would make the bodice smoother and more fitted.  With seams on the front we will be able to add some boning for structure.

We draped and cut the front out according to Brittney’s measurements. It looked great even though it was just a pattern. What can I say...I'm a nerd.  We moved to the back and the sleeve. We marked these pieces like we did on the front.

The sleeve attaches in three places- to the front bodice, under the arms, and at the back of the neck to keep the sleeve from falling off the shoulder.

From the muslin fabric we transferred the pieces on to brown craft paper and voila we had our shapes ready to cut out and assemble.  Don't worry if this doesn't make sense right now.  It will later on.

Two hours passed quickly…she wrote instructions for me to take home.

Yesterday I used my new paper pattern to cut out all the pieces to sew together.  I used a 1” seam allowance to give myself enough fabric to make adjustments.  It went together perfectly!  It was my lucky day for sure!


Oh almost forgot to tell you my dressform arrived!!!  I've wanted one all of my life.  For $100 extra they said they would add a atomically shaped butt.  Maybe it was the end of the day and this just sounded silly that I had to laugh.  I told them to keep the butt and they said that I could add one in the future.

Let's Get Started!


To everyone that has been checking in to find out how Brittney's dress is coming along...and have found nothing...I want to apologize! I have been a slug.  I promise to start posting regularly because I want everyone to be part of this.

First off with Brittney's permission I want to unveil the photo of her perfect wedding dress.  Isn't it gorgeous?  Her sash will be coral and there will be some other exciting details but I'll tell you about those later on.


This is really a beautiful gown, simple, elegant and no pouf.  There is no pattern in any of the pattern books that I can alter so I am going to start at the very beginning and draft a pattern just to fit Brittney.

I was going to say "wish me luck" but I really feel pretty good and don't think I'll need it.  

I am so up for this challenge!

Let's get started!

Friday, April 27, 2012

No Pouf Please


I was committed to creating Brittney’s wedding dress no matter how much fabric it entailed.  For some silly reason the wedding dress in Big Fat Greek Wedding was the only dress that came to mind. After all you have to admit it was a very memorable dress.  It had so much fabric that she tore part of it off on the way to the reception and nobody even noticed!

“NO pouf," Brittney told me and I wanted to do cartwheels.

Brittney's dress will have a lace bodice and skirt, possibly a train, a silk sash around the waist that ties in the back.  A lace applique at the waist that the sash threads through so that the sash shows through the lace.  Like this:


Or like this.  Pretty amazing lace isn't it?  Wonder what color the sash will be?  Me too.


She wants a side pocket for lip gloss and maybe a hankie.

If I’d had a pocket I wouldn’t have had to stuff my ‘something blue’ hankie up my sleeve. A pocket...so simple, so perfect.

So here is what she chose... beautiful lace with a scalloped edge and a floral pattern.


I put a bolt of dark blue fabric behind the lace so you could see the beautiful lace pattern embellished with little pearls.


I could go on and on but it is late and I want to post this before I go to bed.  Stay tuned for a photo of the dream dress and the color of the sash...we can all be surprised together.


Monday, April 23, 2012

Welcome Family, Friends & Sewers

Brittney and Jon are getting married April 20, 2013.  I am Jon's mom.


When Brittney asked me to make her wedding gown I joyfully accepted.  I have been sewing for more than 50 years which would more than qualify me however I sew kids clothes so this will this will be a challenging project.  I am so excited!

So if you are a sewer attempting to make your first wedding dress, or you are just interested to watch Brittney’s dress come to life please follow along.

This is going to be an AWESOME dress!